Raspberry Pi Camera Control via VNC from an iPhone
Before anything I had to prep the Pi board to accept the camera. That required grabbing an upgrade to ensure all the right files were there, it took a few minutes for “sudo apt-get upgrade” to run, but eventually all was good. Then it was on to grabbing a vnc server. Since my Pi sits in the garage and is intended to be an out of site connection for things around the house it makes sense to want to control it without an attached terminal (keyboard, mouse, or monitor).
I started a vncserver and double checked my IP address (using “sudo ifconfig”) so that I could switch among all of my computers and mobile device and still access the pi. Check out the post on how to set this all up for a VNC server.
Everything appears the same and the terminal is working which is great for remotely running updates. Now I can update and install things so long as I’m attached to the same wifi network, and presumably I can do it from another network though I haven’t really tried (some setting is different, not sure which one).
Finally after all of that it’s time to try the camera again. The last go around I tried to take an image, things froze, and eventually the SD card I was using got corrupted after some hard resets. This time I’ll try to be more careful. I’ve already run updates so following the steps I need to enable the camera using “sudo raspi-config”.
Then I just ran the documentations suggested script, all of which can be found here.
https://www.raspberrypi.org/documentation/configuration/camera.md
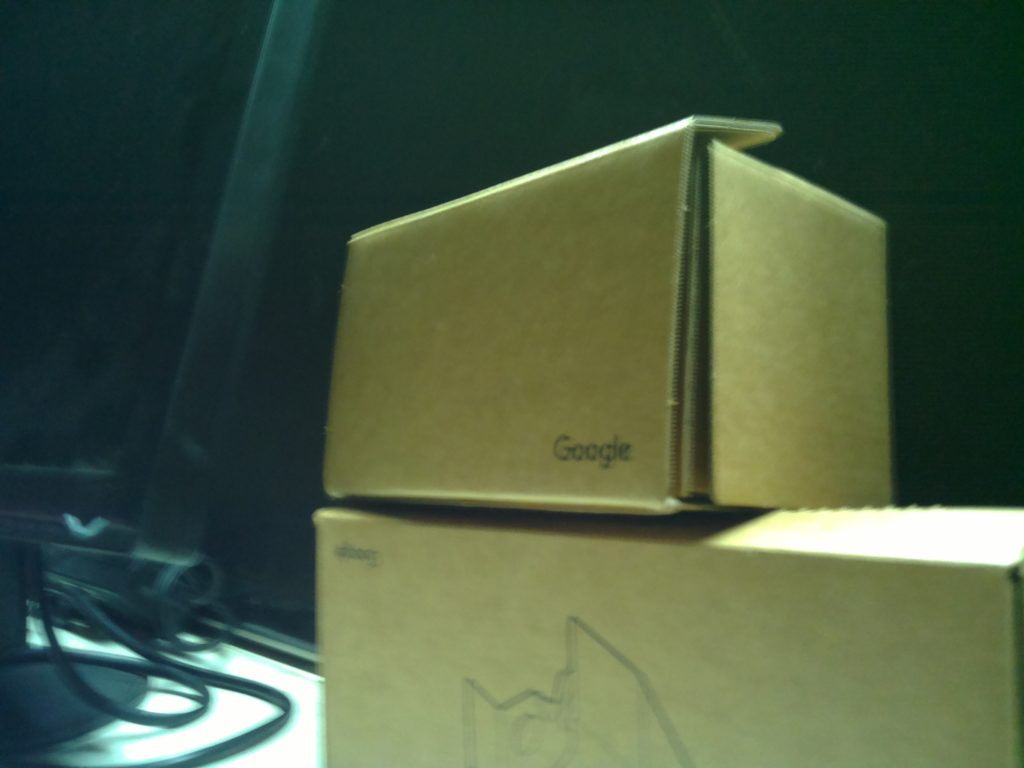
The result was a none-to-exciting picture of the boxes sitting in front of my my on a workbench.

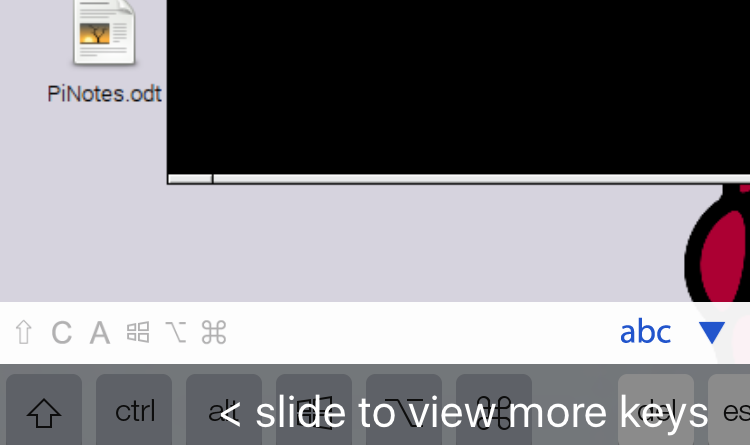
So now that the pi is actually able to take pictures and video the next step is to preview these or control the setup remotely. Using the VNC player I can run the same command line tools that activate the preview of the player and take pictures. The only issue here is that the preview window of ‘raspistill’ does not show up in the VNC player, instead it will show up on any connected to a display plugged into the HDMI port of the pi.
It is possible to take a picture via the pi and then open the file for viewing, all over VNC. If you are typing and clicking around that’s two separate command line entries so the delay is a problem. At the very least a command line entry can also be used to open a file so there has got to be a way, even with a slight delay, to take a picture and then immediately display the picture in a separate viewer. Some examples exist online of simple programs to do just that, so I’ll plan to grab one and cover that in a separate article
The last major piece is to power this setup. While testing I kept the standard pi power supply connected and plugged in but the goal is to make the setup wireless. This means adding some external power supply. I happen to have an Anker Powercore+ mini laying around, it was a giveaway at some conference. The small system has usb and miniusb in/out port and came with a cord while also supporting up to 1A of output current and 3350 mAh capacity. That’s plenty of power since I only need around 650mA (.65A) to run everything via SSH or VNC and even if I want to directly connect to it for trouble shooting it’s still only 850mA (.85A).
- Pi Board – 400mA
- Camera – 250mA
- Mouse – 50mA (varies by model)
- Keyboard – 100mA (varies by model)
- HDMI Out – 50mA
The one issue here is that I have no idea if the power supply is about to fail in headless mode. There is a green light on the battery that turns red if it falls below 5% capacity, but if I’m not physically able to see the power supply this is useless. I could use that same battery board and light to trigger something on the GPIO pins, but for now will plan to just keep an eye on things and attach to main power supplies since even conservative estimates would suggest I’ve got at least 5-6hours of battery life from a full charge.

