Chromium –Kiosk Mode For Signage & Displays
Having a small, cheap computer like the Raspberry Pi is great for putting together all sorts of IoT devices for the house. One of the more common devices worth controlling is a screen in order to make a simple kiosk display, smart mirrors, or other projects. Making the Pi boot directly to a website, locally or on the web, allows for dynamic updating and control through tons of other means.
Display A Full Screen Webpage
The “Kiosk” mode for Chromium is a great work around to power all sorts of fun ideas. Kiosk runs a full screen version of the Chromium web browser with no buffer or clutter. This means that any display and a raspberry pi can run countless wep-apps. Though it is far from the best solution for marketable products, with APIs and customizable web-apps this is a great way to build a proof of concept or household project .
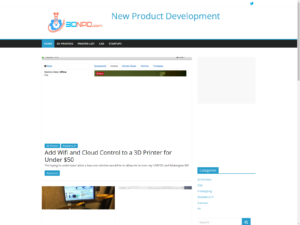
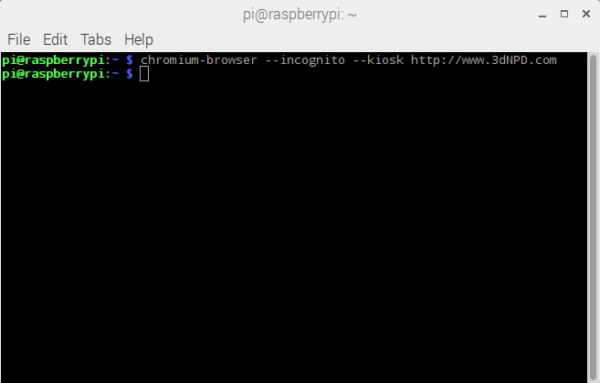
Kiosk mode can be launched directly from the command line, for example if you want to open this site in kiosk just run:
chromium-browser --kiosk http://www.3dNPD.com
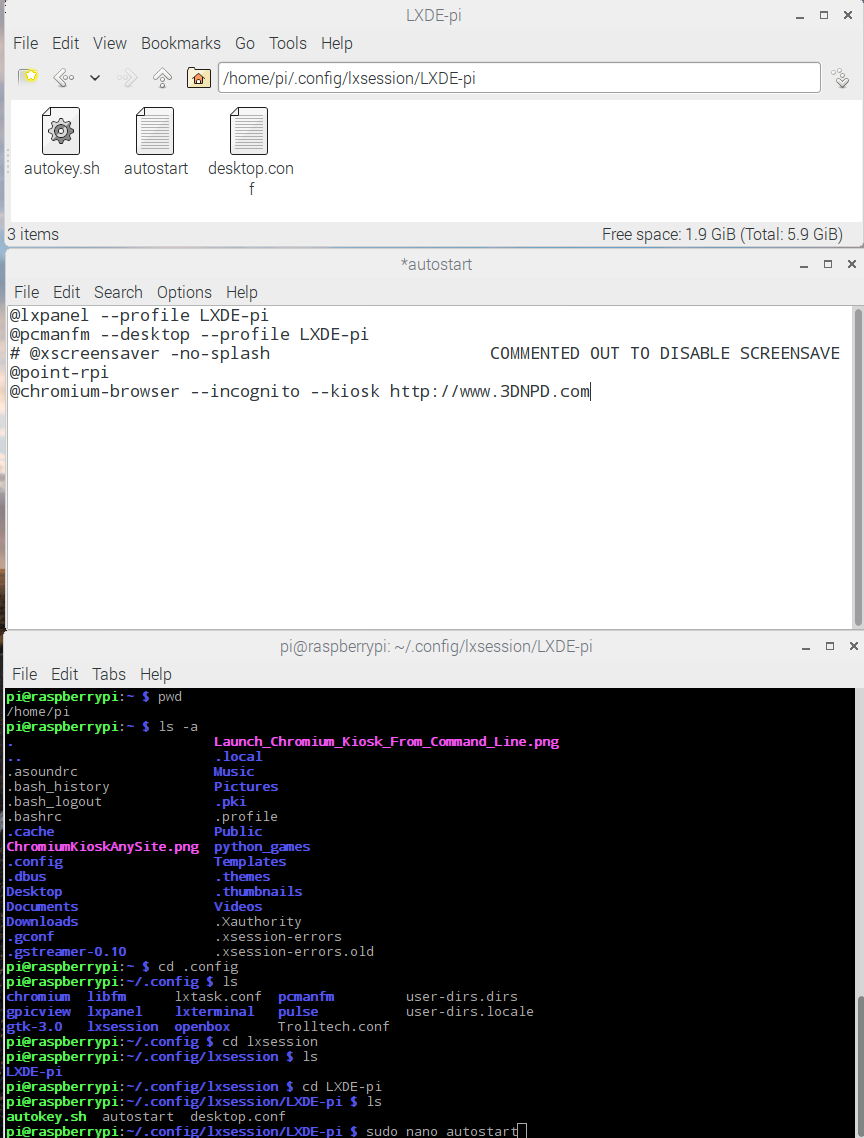
By adding a chromium kiosk to the autostart you can boot directly to this display. This can be done by adding the above command to the “autostart” file that is buried in the .config folder The path may vary but in general this will get you there.
cd /home/pi/.config/lxsession/lxde-pi/
In there is a file named “autostart”. Edit it using a text editor, or if viewing graphically just double click to open.

There are a few additional flags, including ingonito, that are useful to avoid error messages. Depending on your use case and ability to tweak it later you may want to consider adding some.
Controlling Kiosk Mode

Without access to a keyboard or controls the display will stick to wherever it is pointed. If you do not have a keyboard attached then remotely logging into the Pi will be the only way to change things.
Of course if you want control there are a few options, including the obvious ones of either using a touchscreen or attaching a wireless mouse or keyboard. With a keyboard a knowledgeable user to break out of kiosk mode by simply using “Alt + F4”, and depending on how you configure the display the same goes for the touchscreen. As far as I can tell this is a good thing, since it allows for easy troubleshooting or tweaking.
One of the uses of the Kiosk mode may be to allow access to a particular public website. This can be for registration on-site or for use by kids or other people you do not want poking around. To keep the walls of control up it is possible to limit the accessible sites with the flag “–host-rules”. This is covered in the documentation and on a few forums.
If you are booting directly to kiosk mode there are a few others things worth considering
- Remove the Mouse from the display with “unclutter”
- Turn off the screen saver by commenting it out in autostart
- Control the display preferences with “xset”
Use a Locally Hosted Website On Your Kiosk
For multiple displays on the same network, and just in general, it may be useful to display a locally hosted site. That is, rather than connecting to the web you can simple install a webserver directly on your Raspberry Pi. Projects like the OctoPi use this to physical computing or control of devices connected to the hosting Pi.
Apache web servers are simple to setup on a pi and you can get to accessing the directory right away. From the command line it only takes one input to start hosting your own webpage.
sudo apt-get install apache2 -y
The “-y” flag simply answers yes to any prompts that come up during installation. It’s a helpful flag in general for things that take a few minutes to install since it keeps things moving even if you walk away to get a coffee.
Once installed you can work directly in the local var/www/html folder and begin editing the page.


Pingback: Simple Raspberry Pi Tasks